Setup
Let's first setup our Firebase project. (This guide is beginner-friendly, so if you have 0 experience with Firebase, you'll still be able to follow along.)
Creating a new Firebase project
Note: Skip this step if you already have a Firebase project.
-
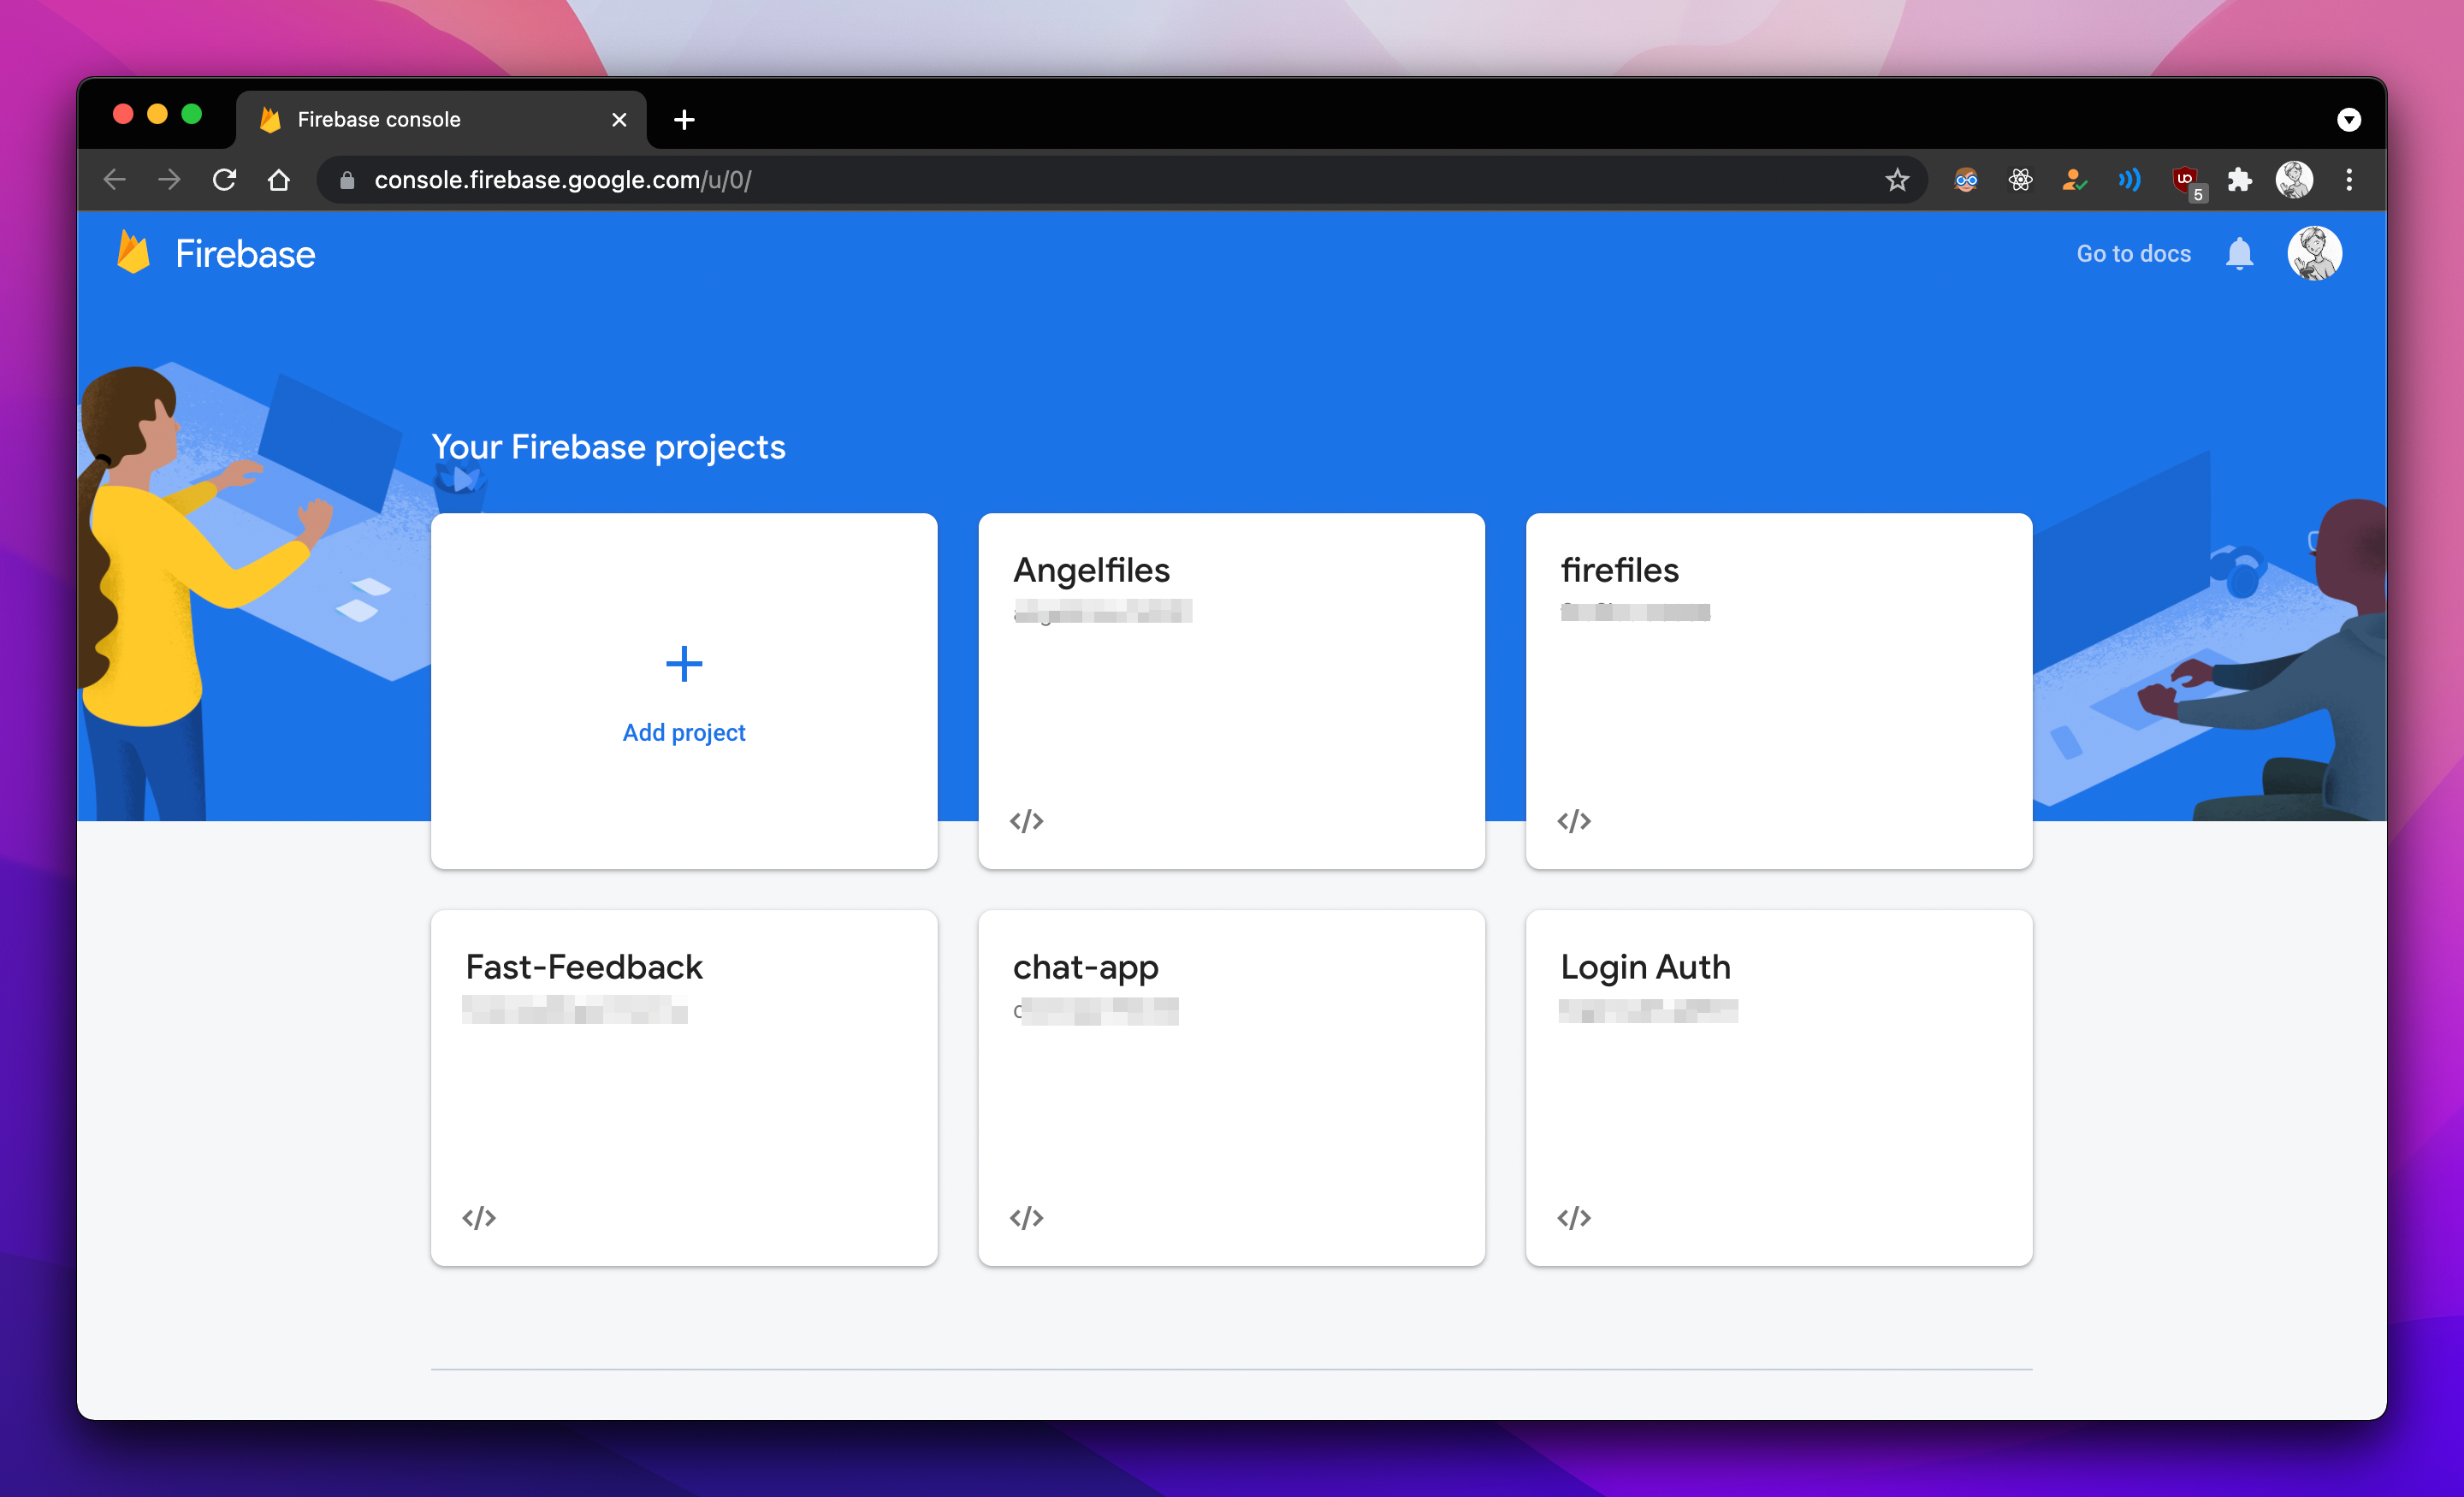
Go to Firebase console.
-
Click on the
+ Add Projectbutton. -
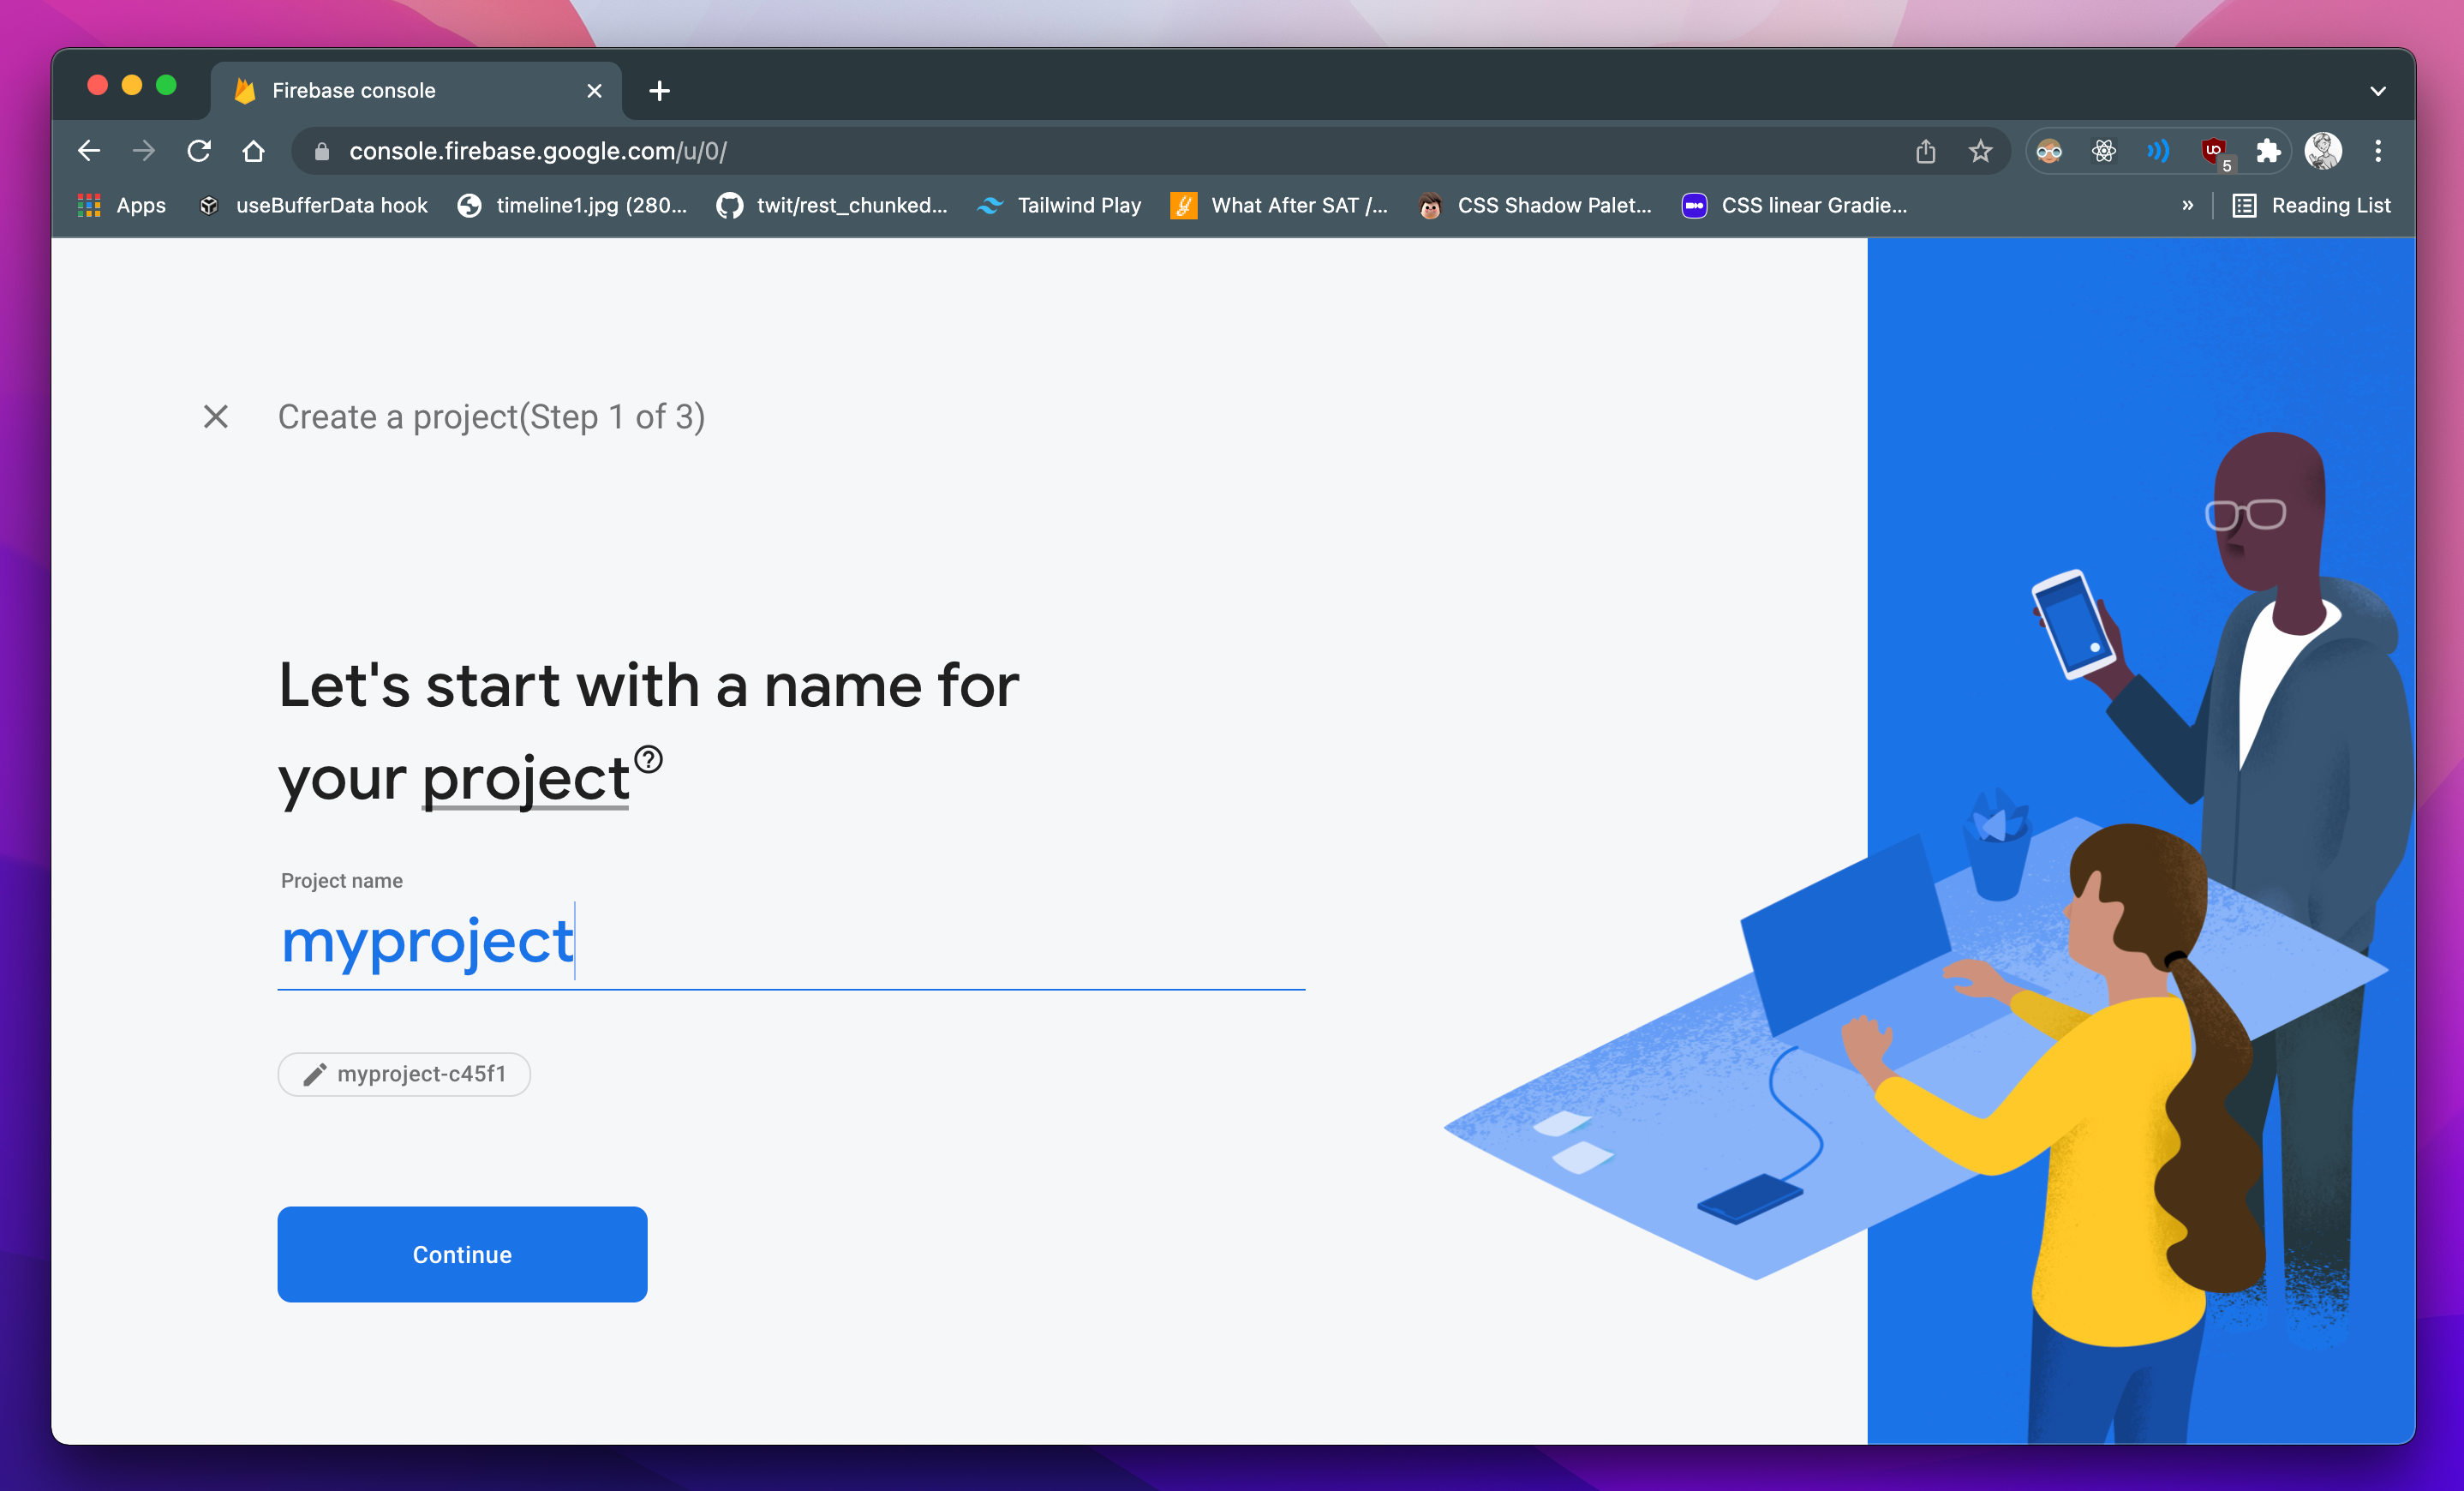
Give your project a name, and on the next page, disable Google Analytics if not required.
-
Click on
Createand wait for your project to get created.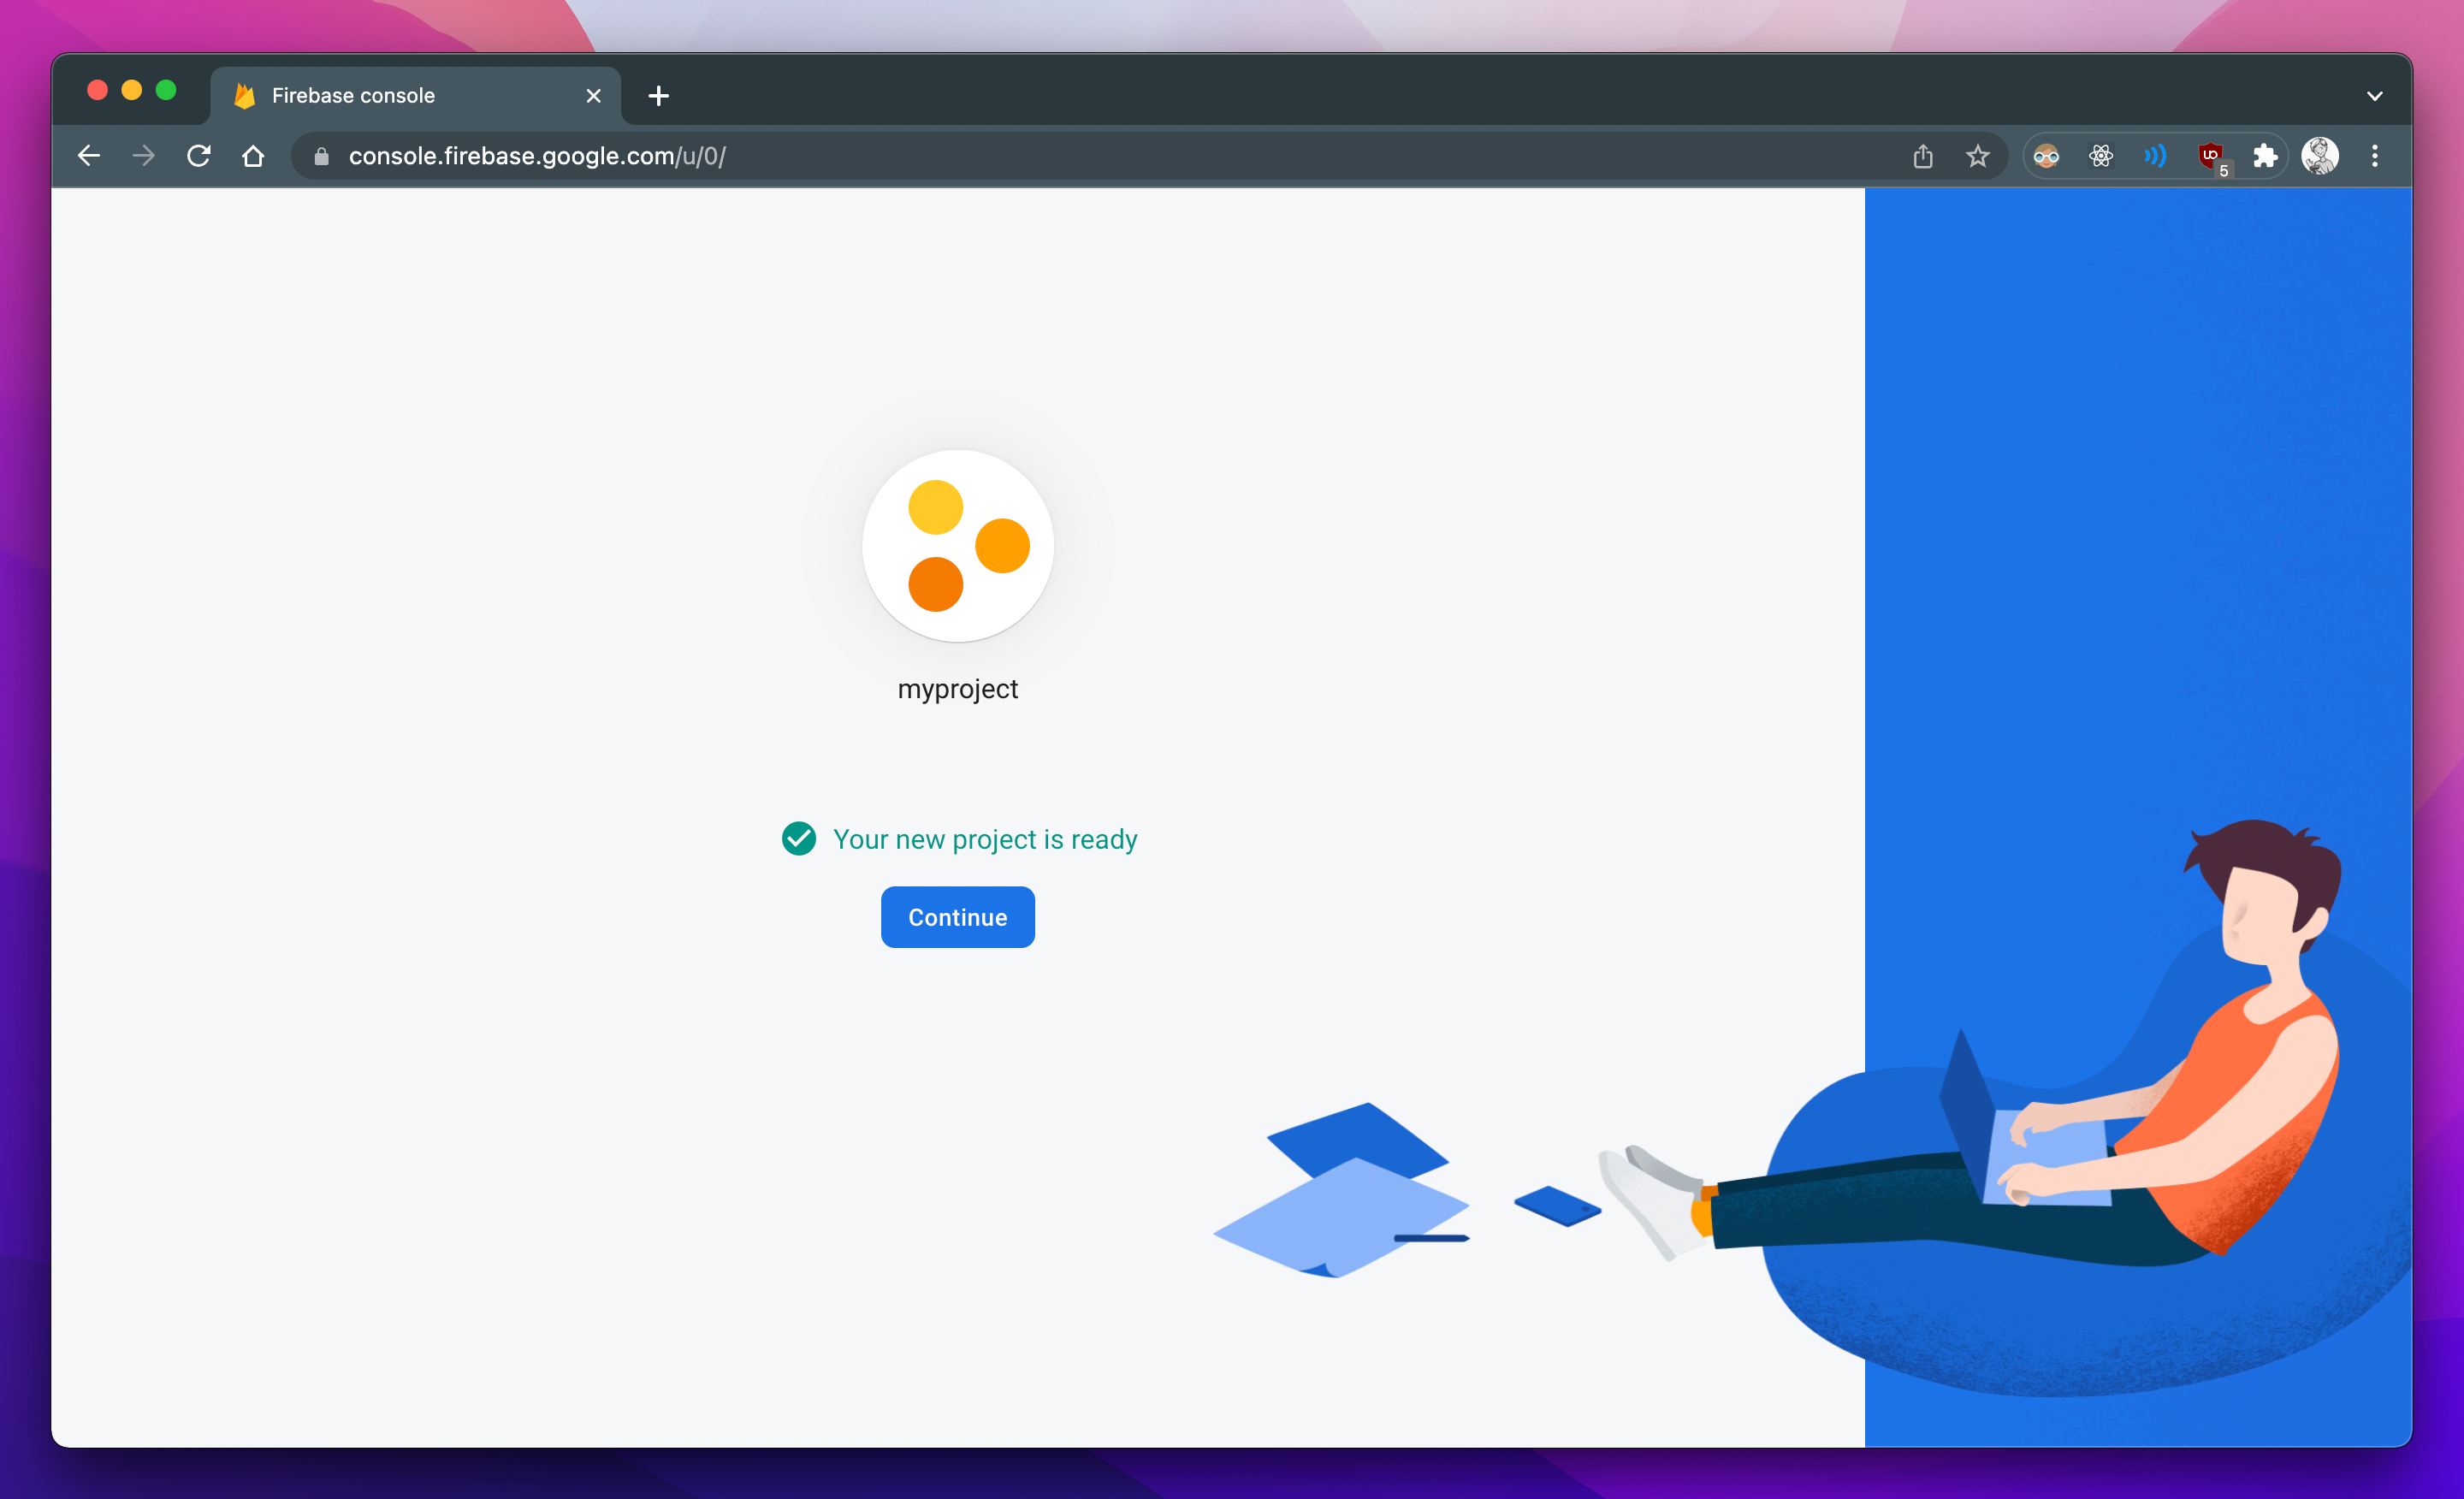
-
Once created, you'll need to configure your project for each platform. However, we only need to worry about configuring the
Webplatform. To do this, click on the</>icon in the console. -
Once you get to the
Add Firebase SDKsection, copy and store your config values.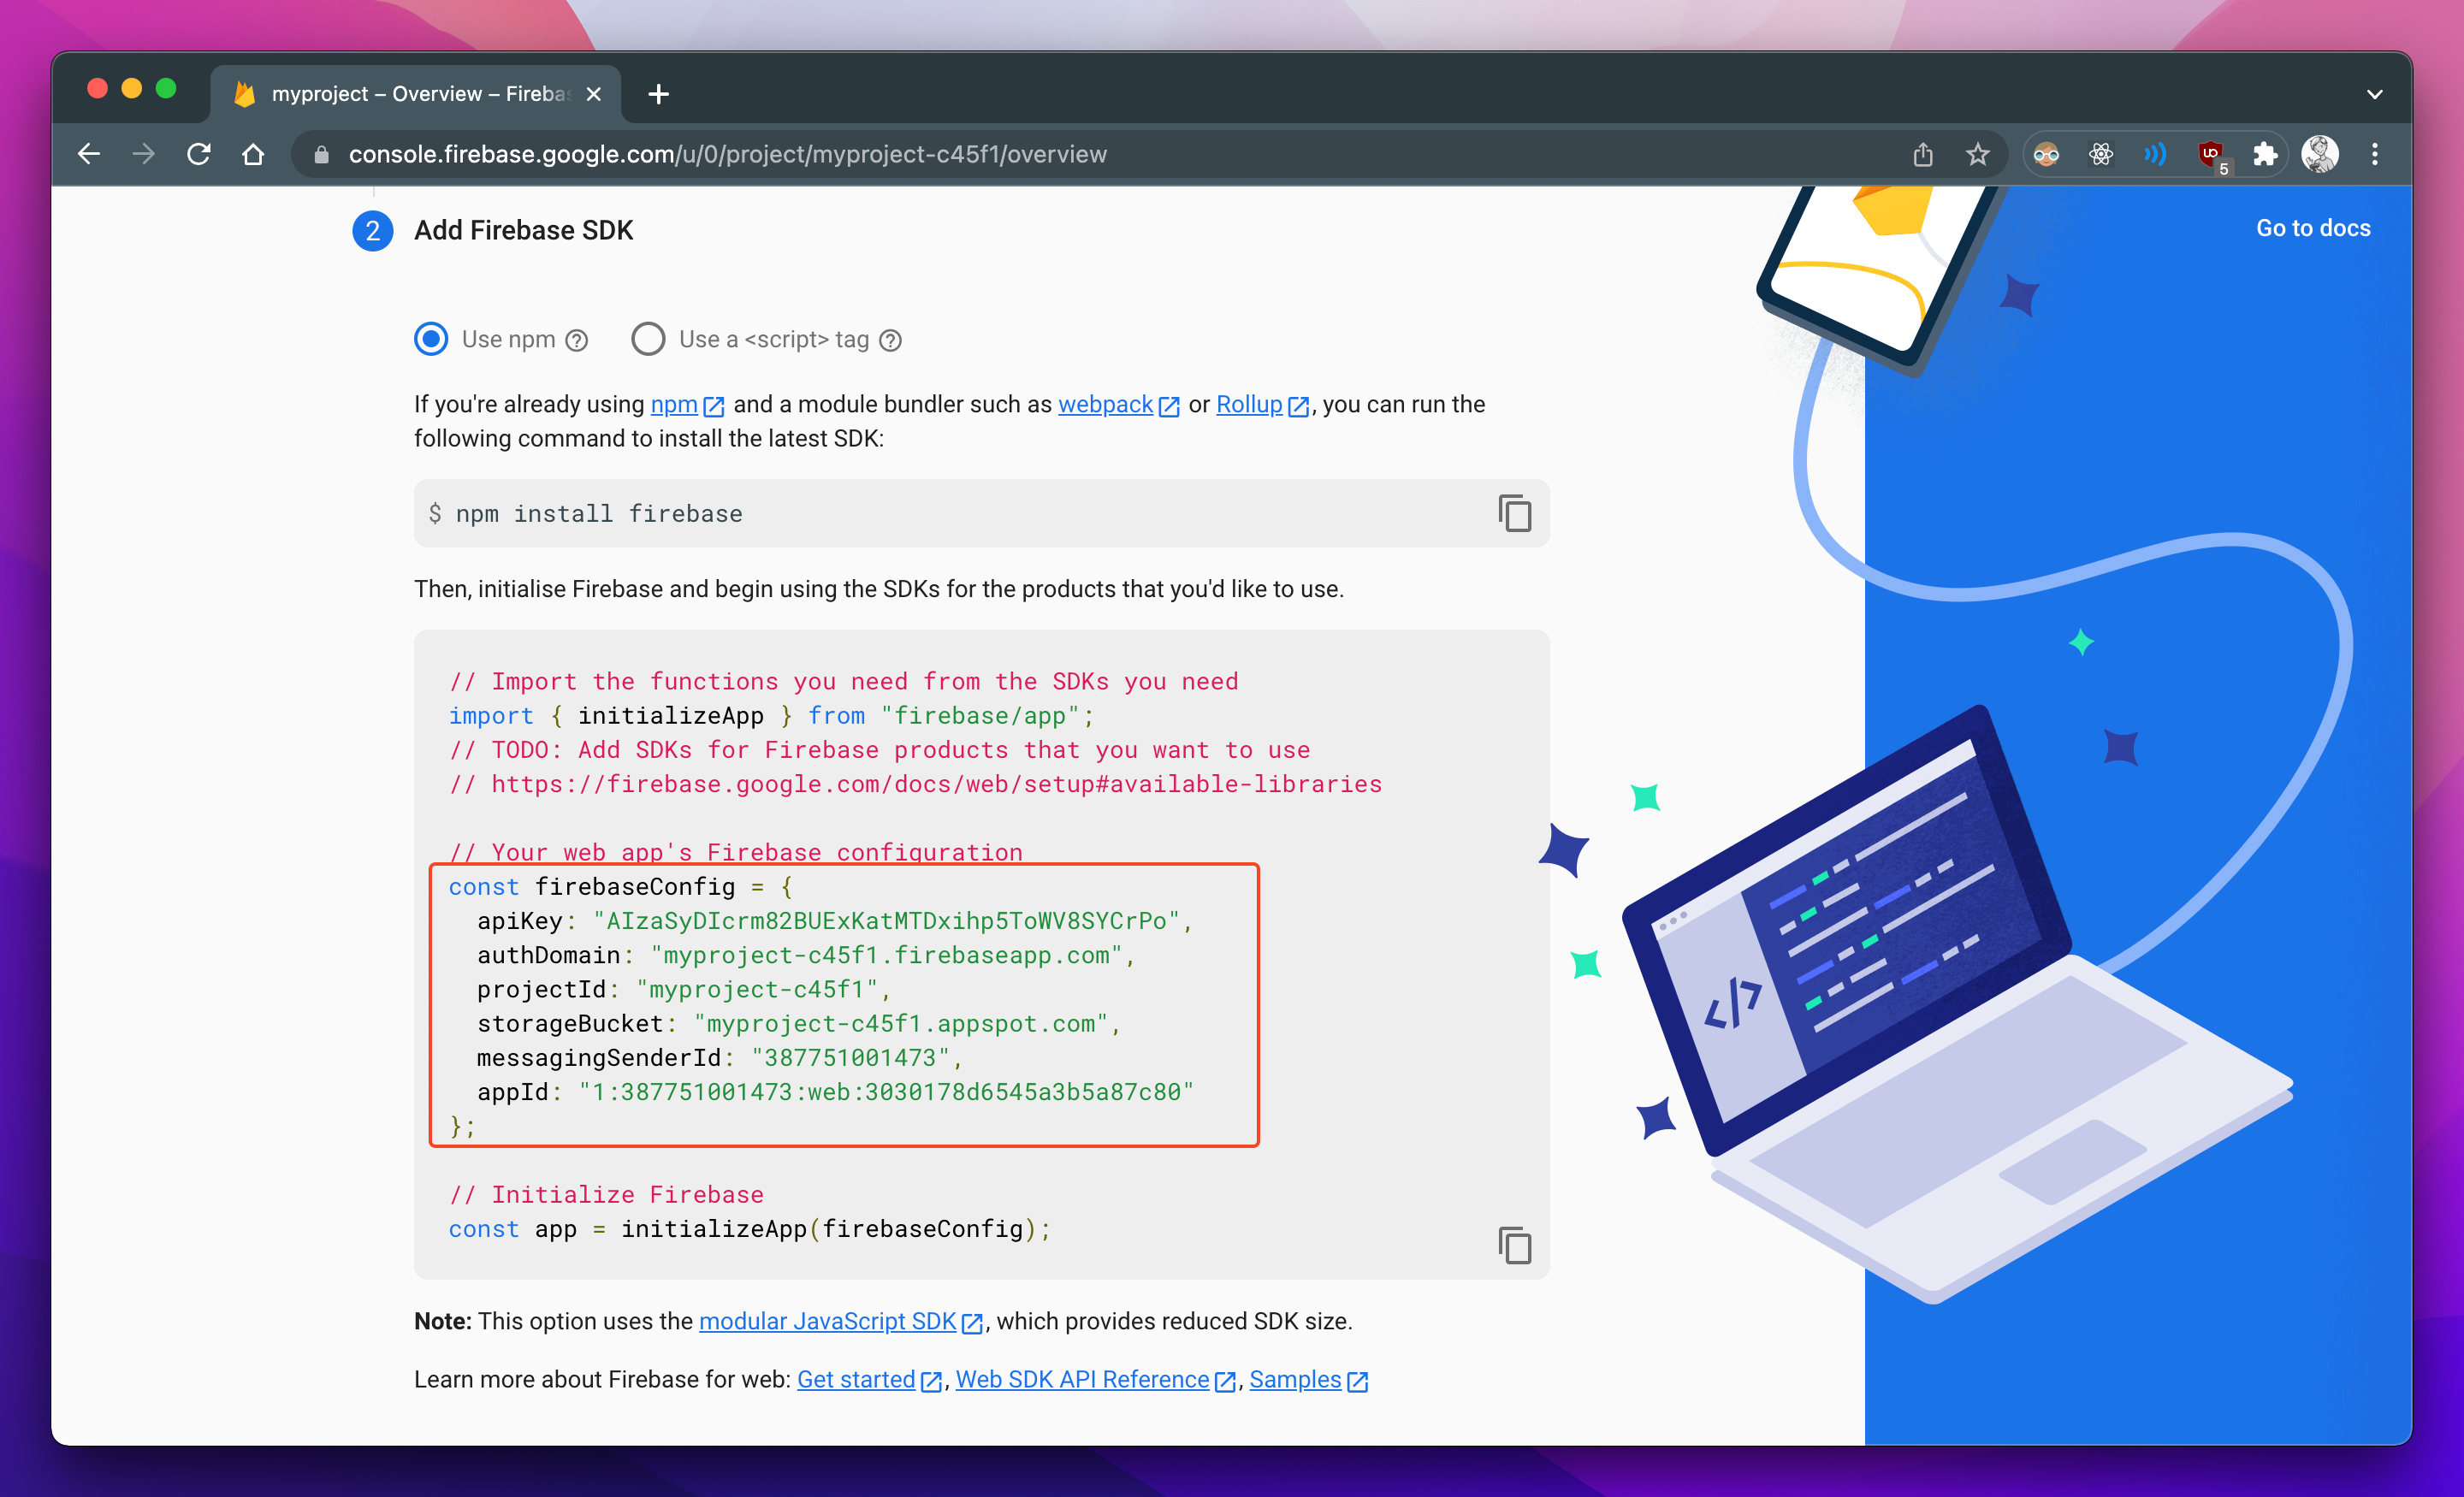
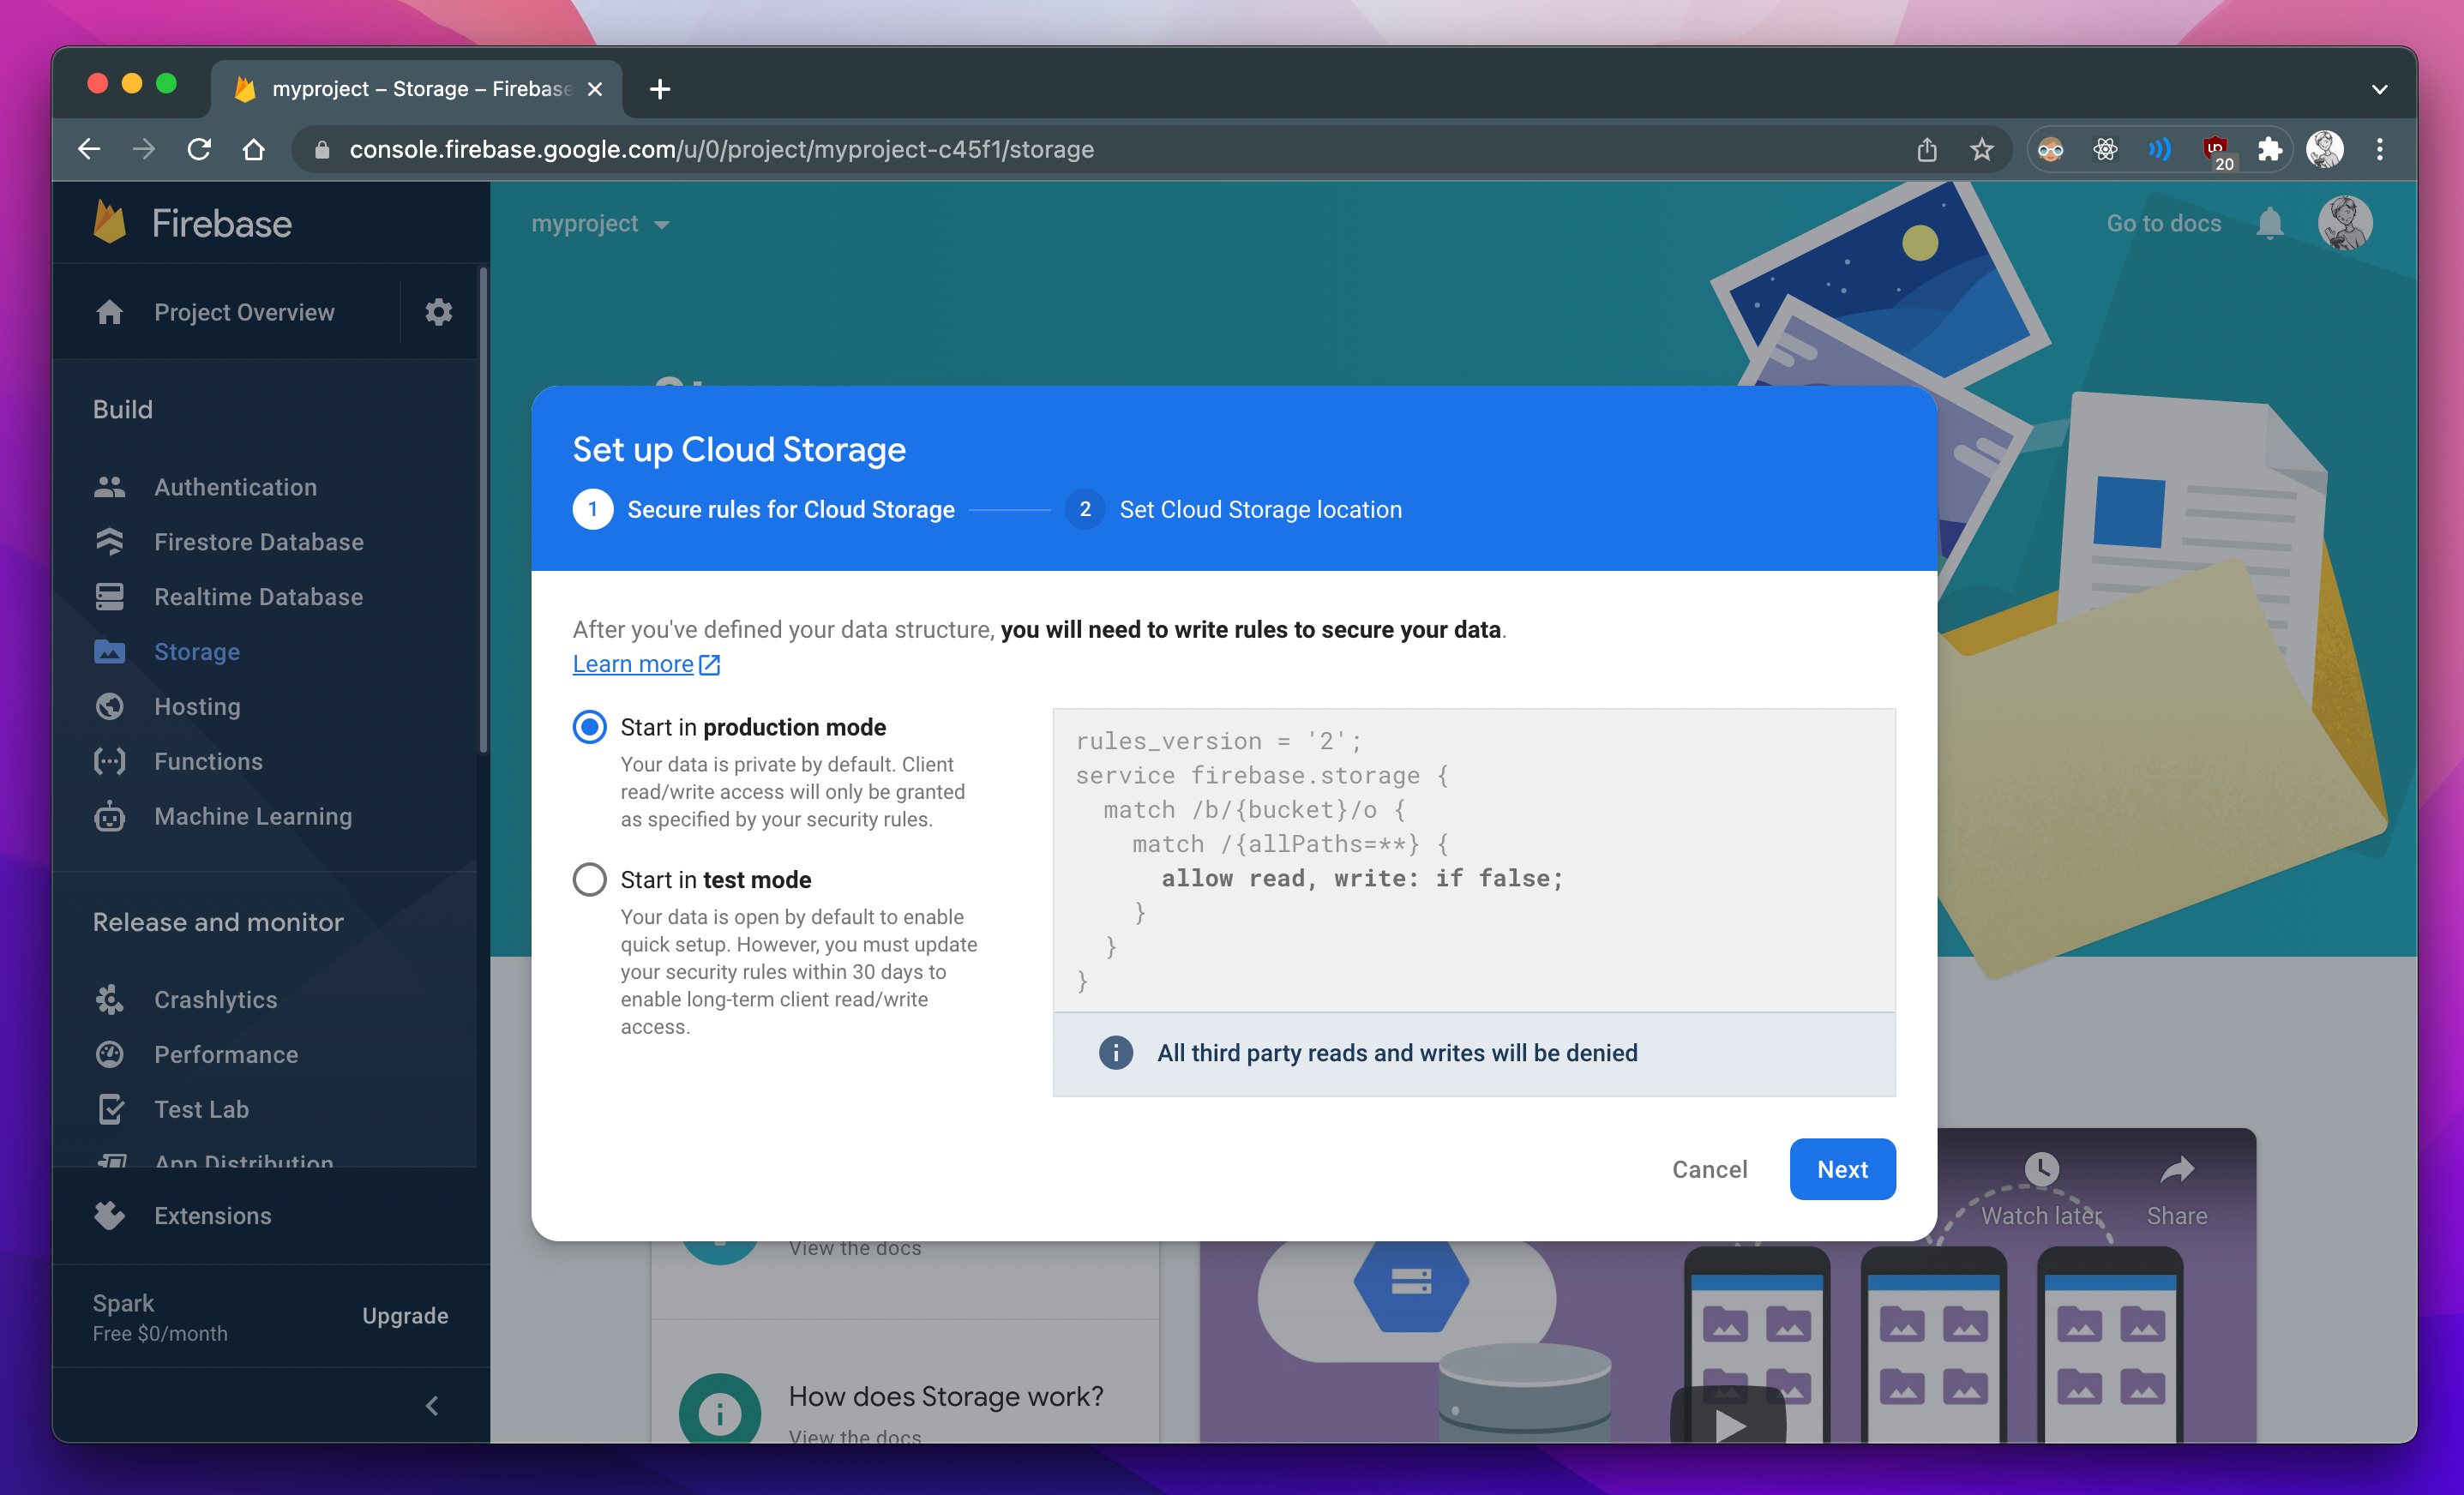
Once this is done, let's move to setting up our cloud storage. Click on the Storage section in the sidebar and click on Get Started. Select Production Mode when asked to select the type of mode to use. Firebase will now ask you to select a location for your bucket. Select the one which is closer to you.
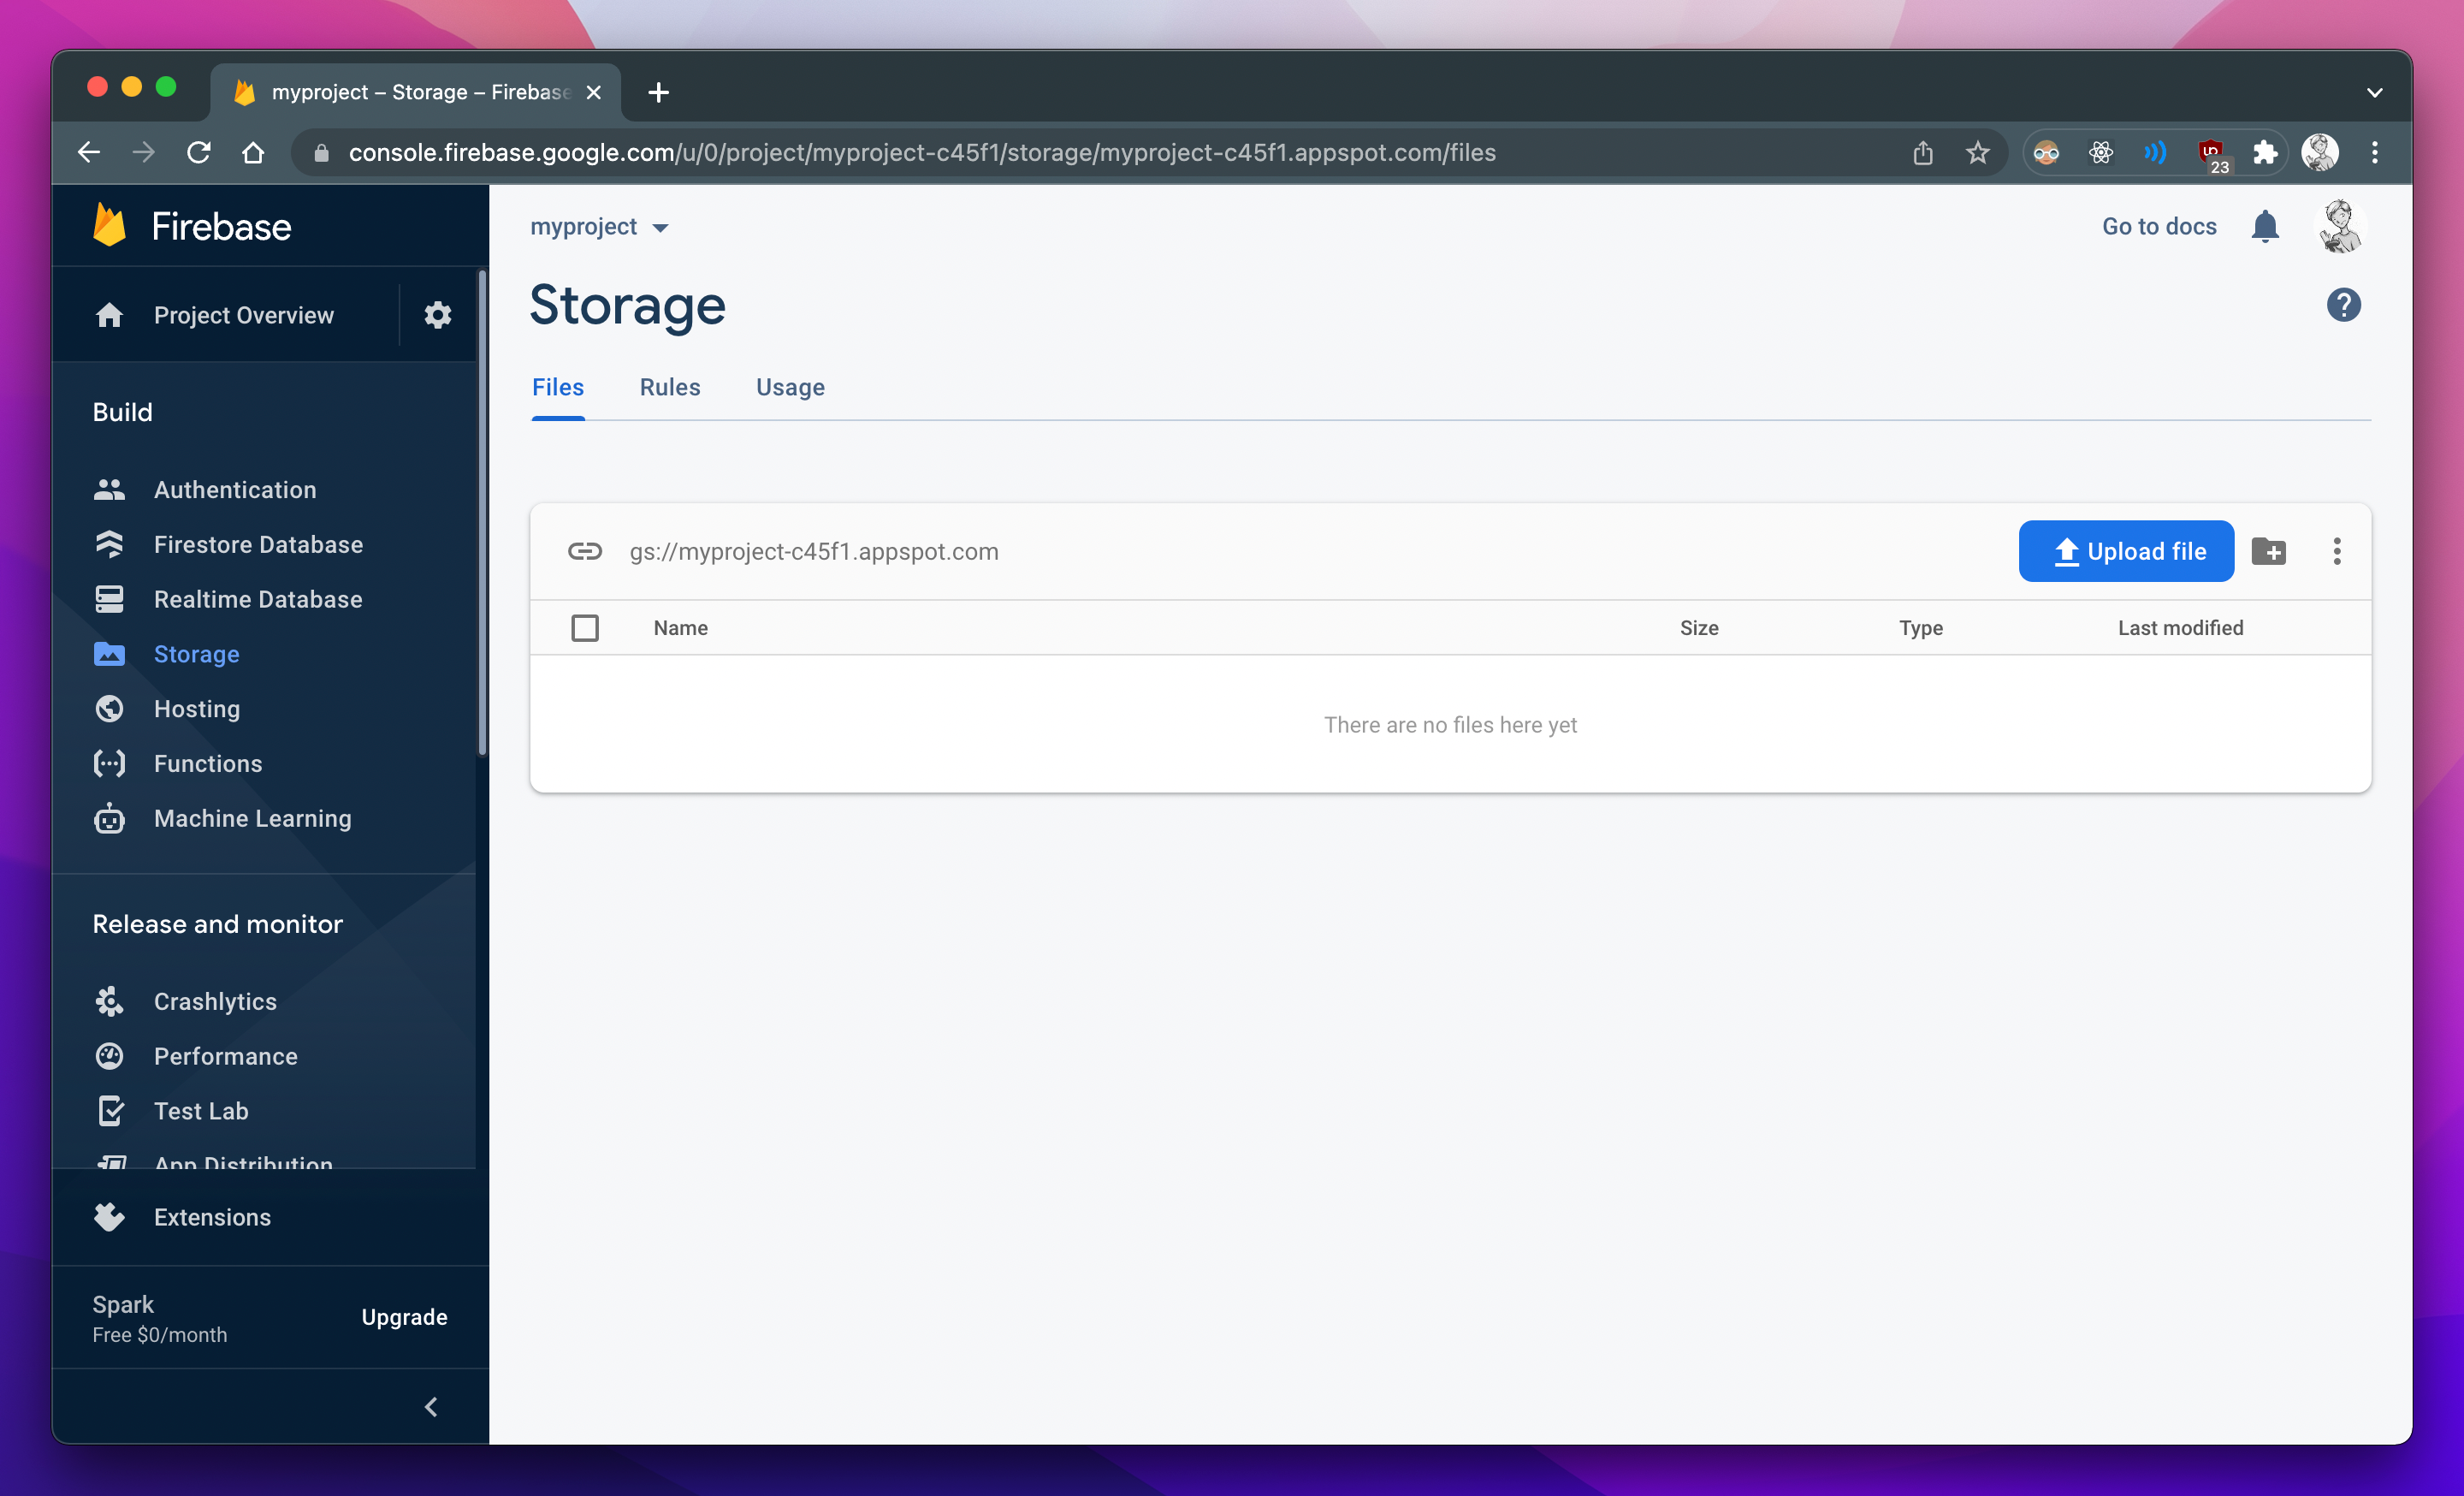
NOTE: Once the location is selected, it cannot be changed again. Upload/Download speeds depend on the selected location and your location.
Aaand our bucket is created!
Make sure you read the next section which highlights some important stuff that needs to be done before you can use Firefiles!