Important things to note
Authentication
We currently have a system where we create a temporary user in your Firebase project through which we are able to access your storage bucket.
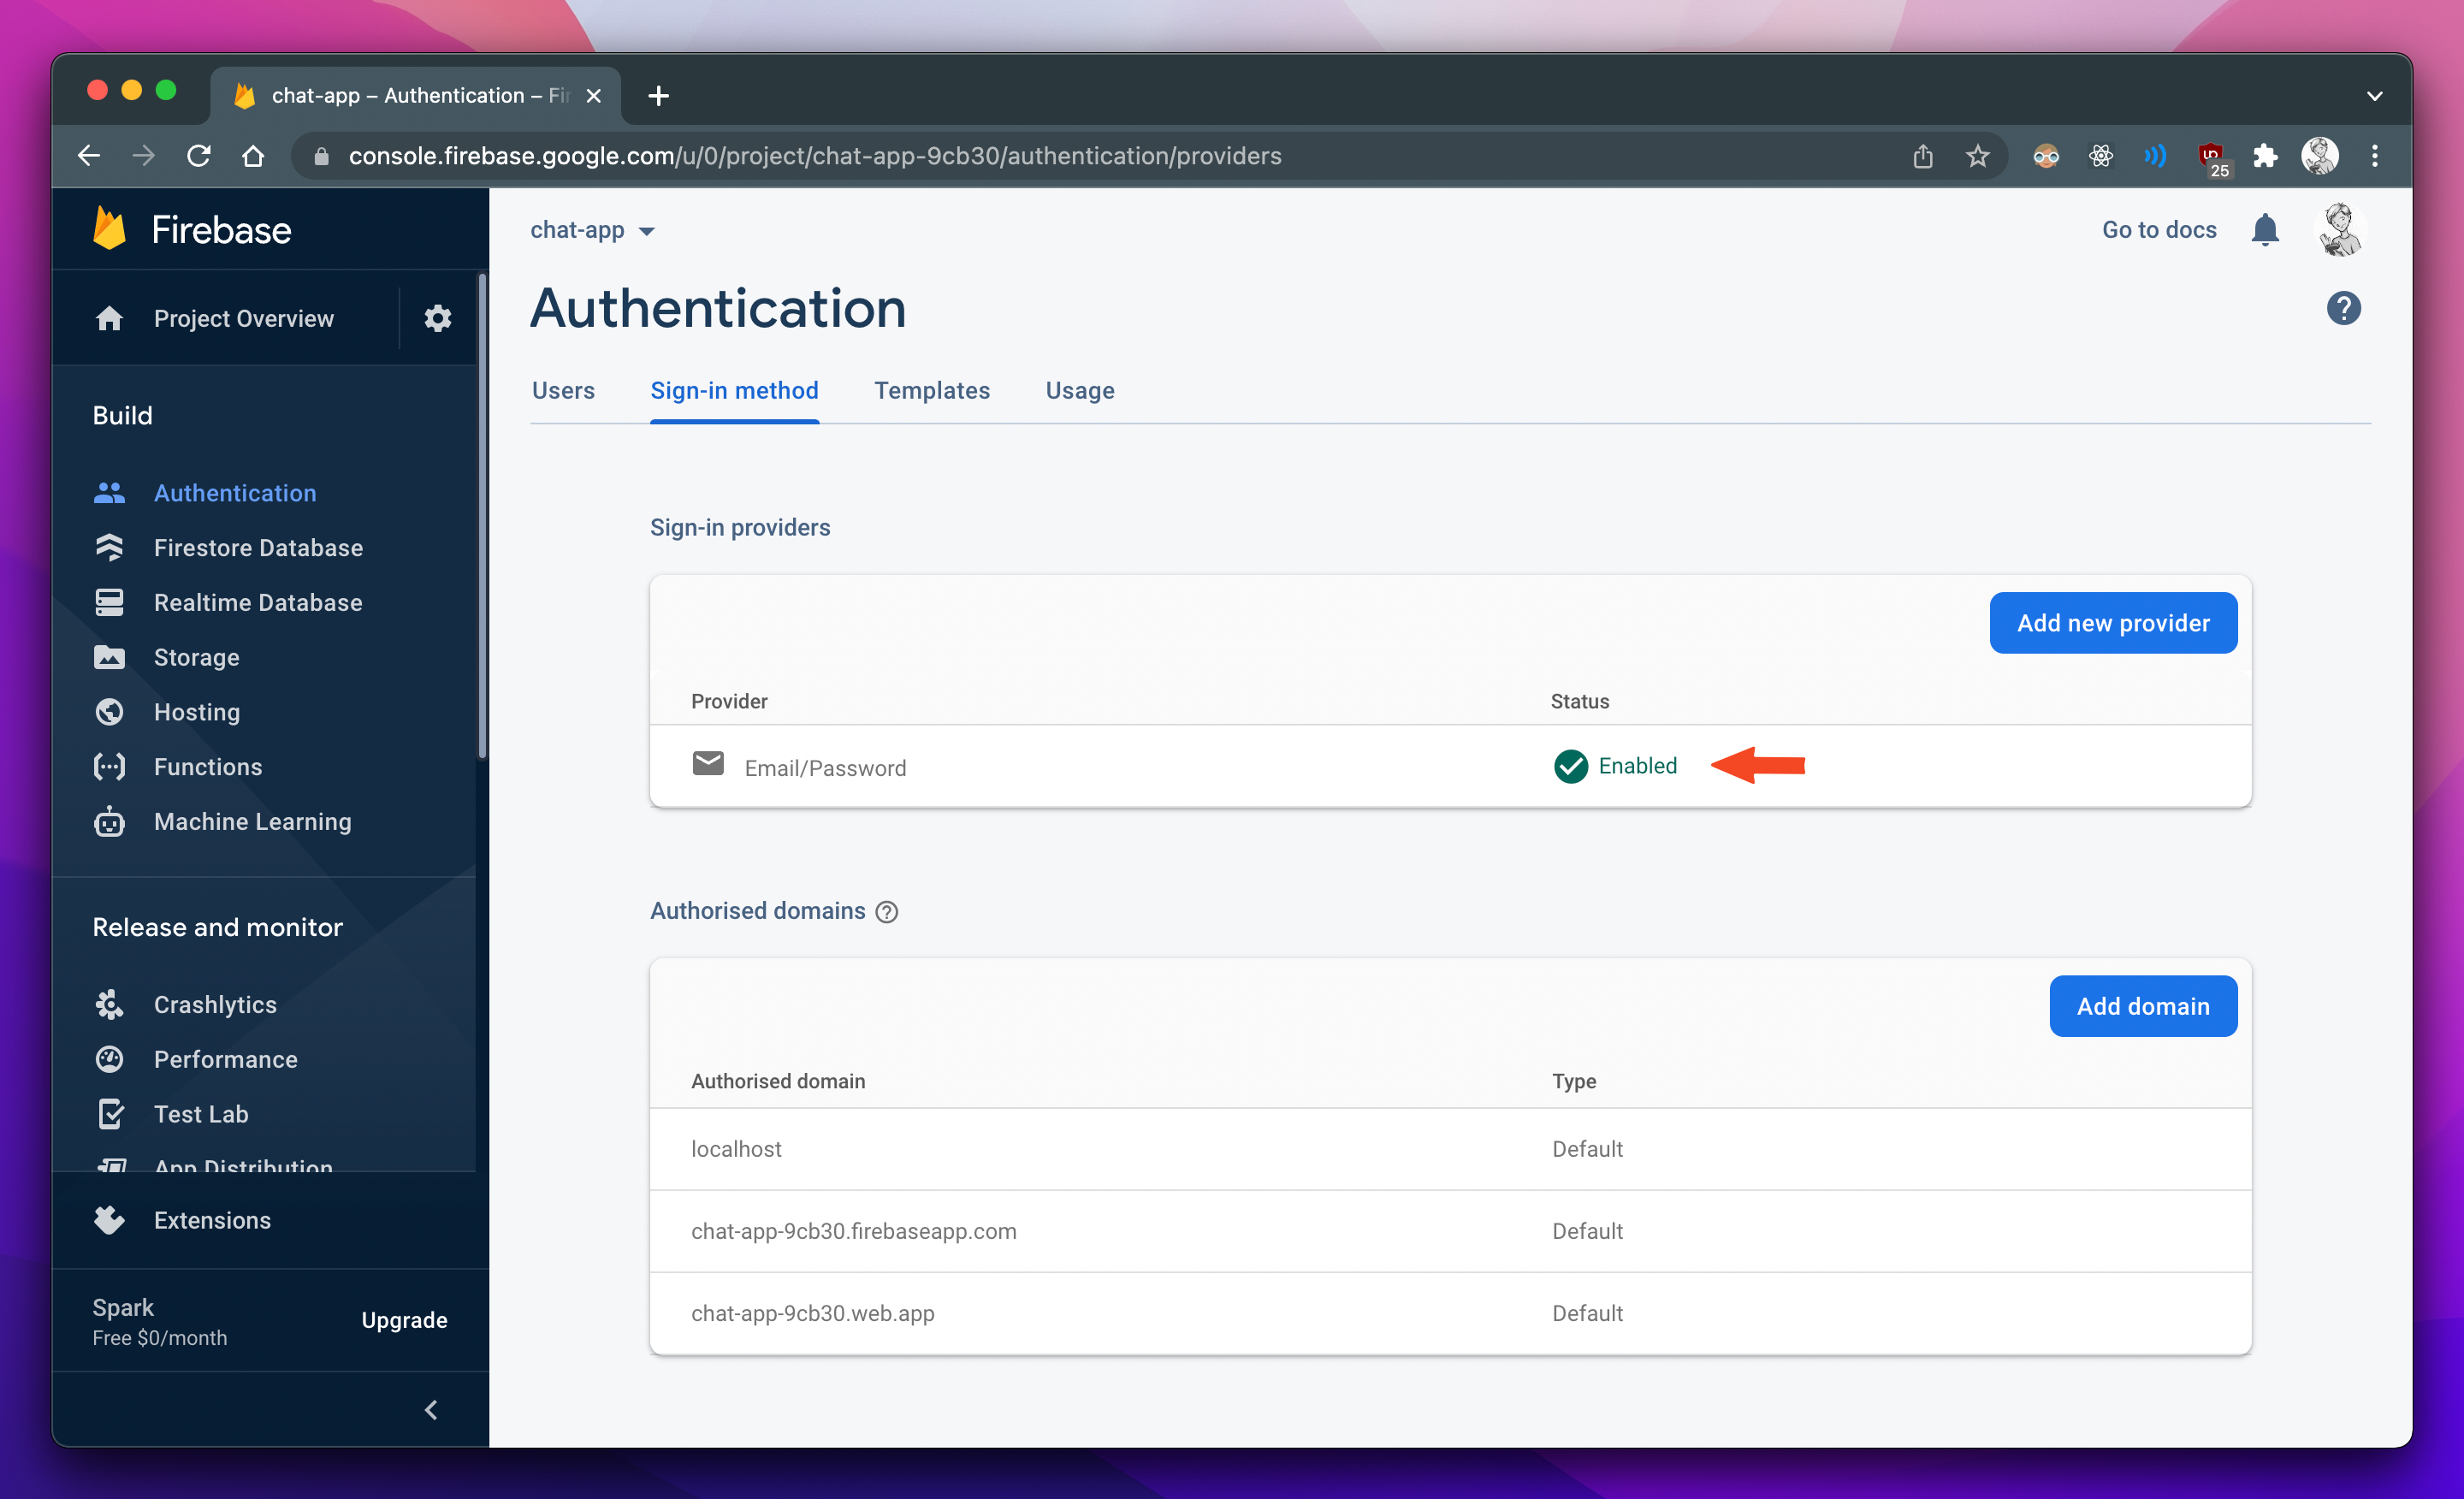
In order for this to work properly, make sure you have enabled Email/Password authentication in your Firebase project.
Quick Fix:
If you're getting any errors regarding authentication such as Wrong Password
etc. (only for the temporary user). Head over to the Authentication section and delete the user
which Firefiles would have created.
The email of the temporary user will be something like --> youremail+firefiles@yourdomain.com. This is because any email to that address will be redirected to your original email. (basically Gmail ignores anything after + and before @).
And the password will be a randomly generated string. Even we don't know what the password will be.
Once, you reach this point, open up Firefiles, click on the Create New Drive button and create a new drive with your Firebase credentials. Once the drive is created, open that drive once, wait for a few seconds (maybe 10?) and then close it.
After this, you'll see the user we were talking about in the Authentication tab in Firebase. Copy the uid because we'll need it ahead!
Security Rules
You'll need to tweak the security rules of your storage bucket so that Firefiles can work properly. The security rules which would work are:
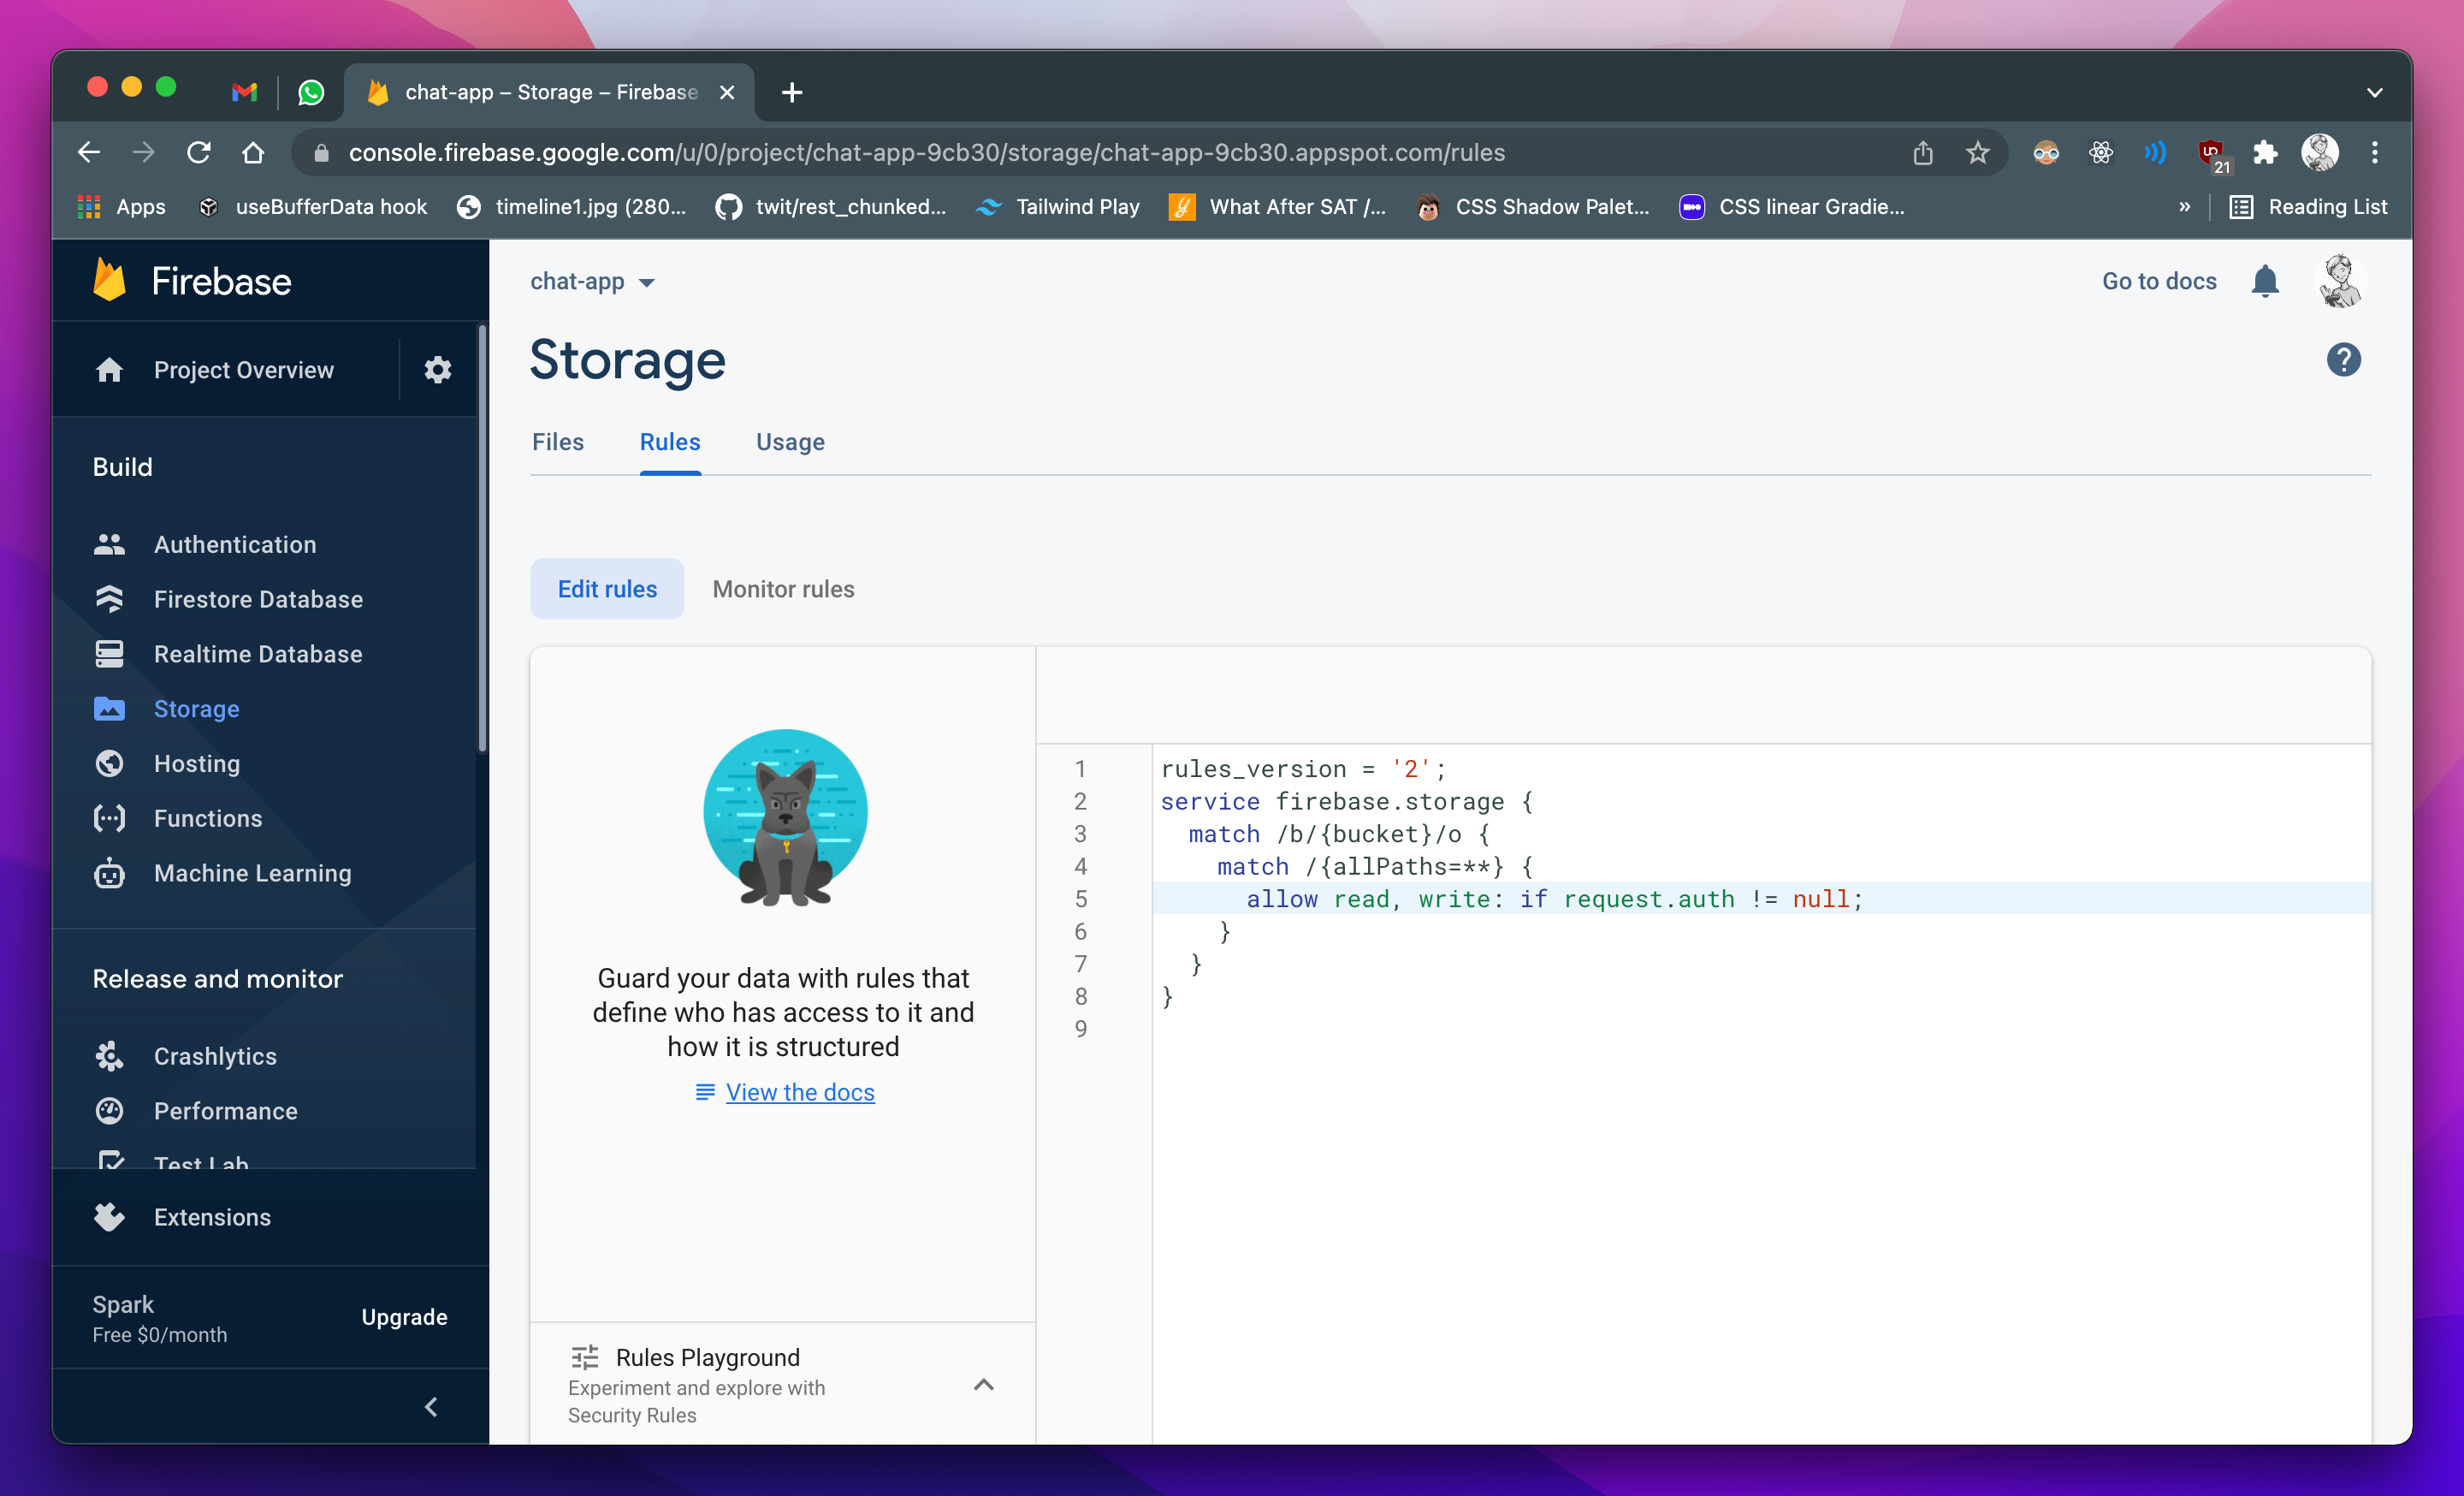
OR
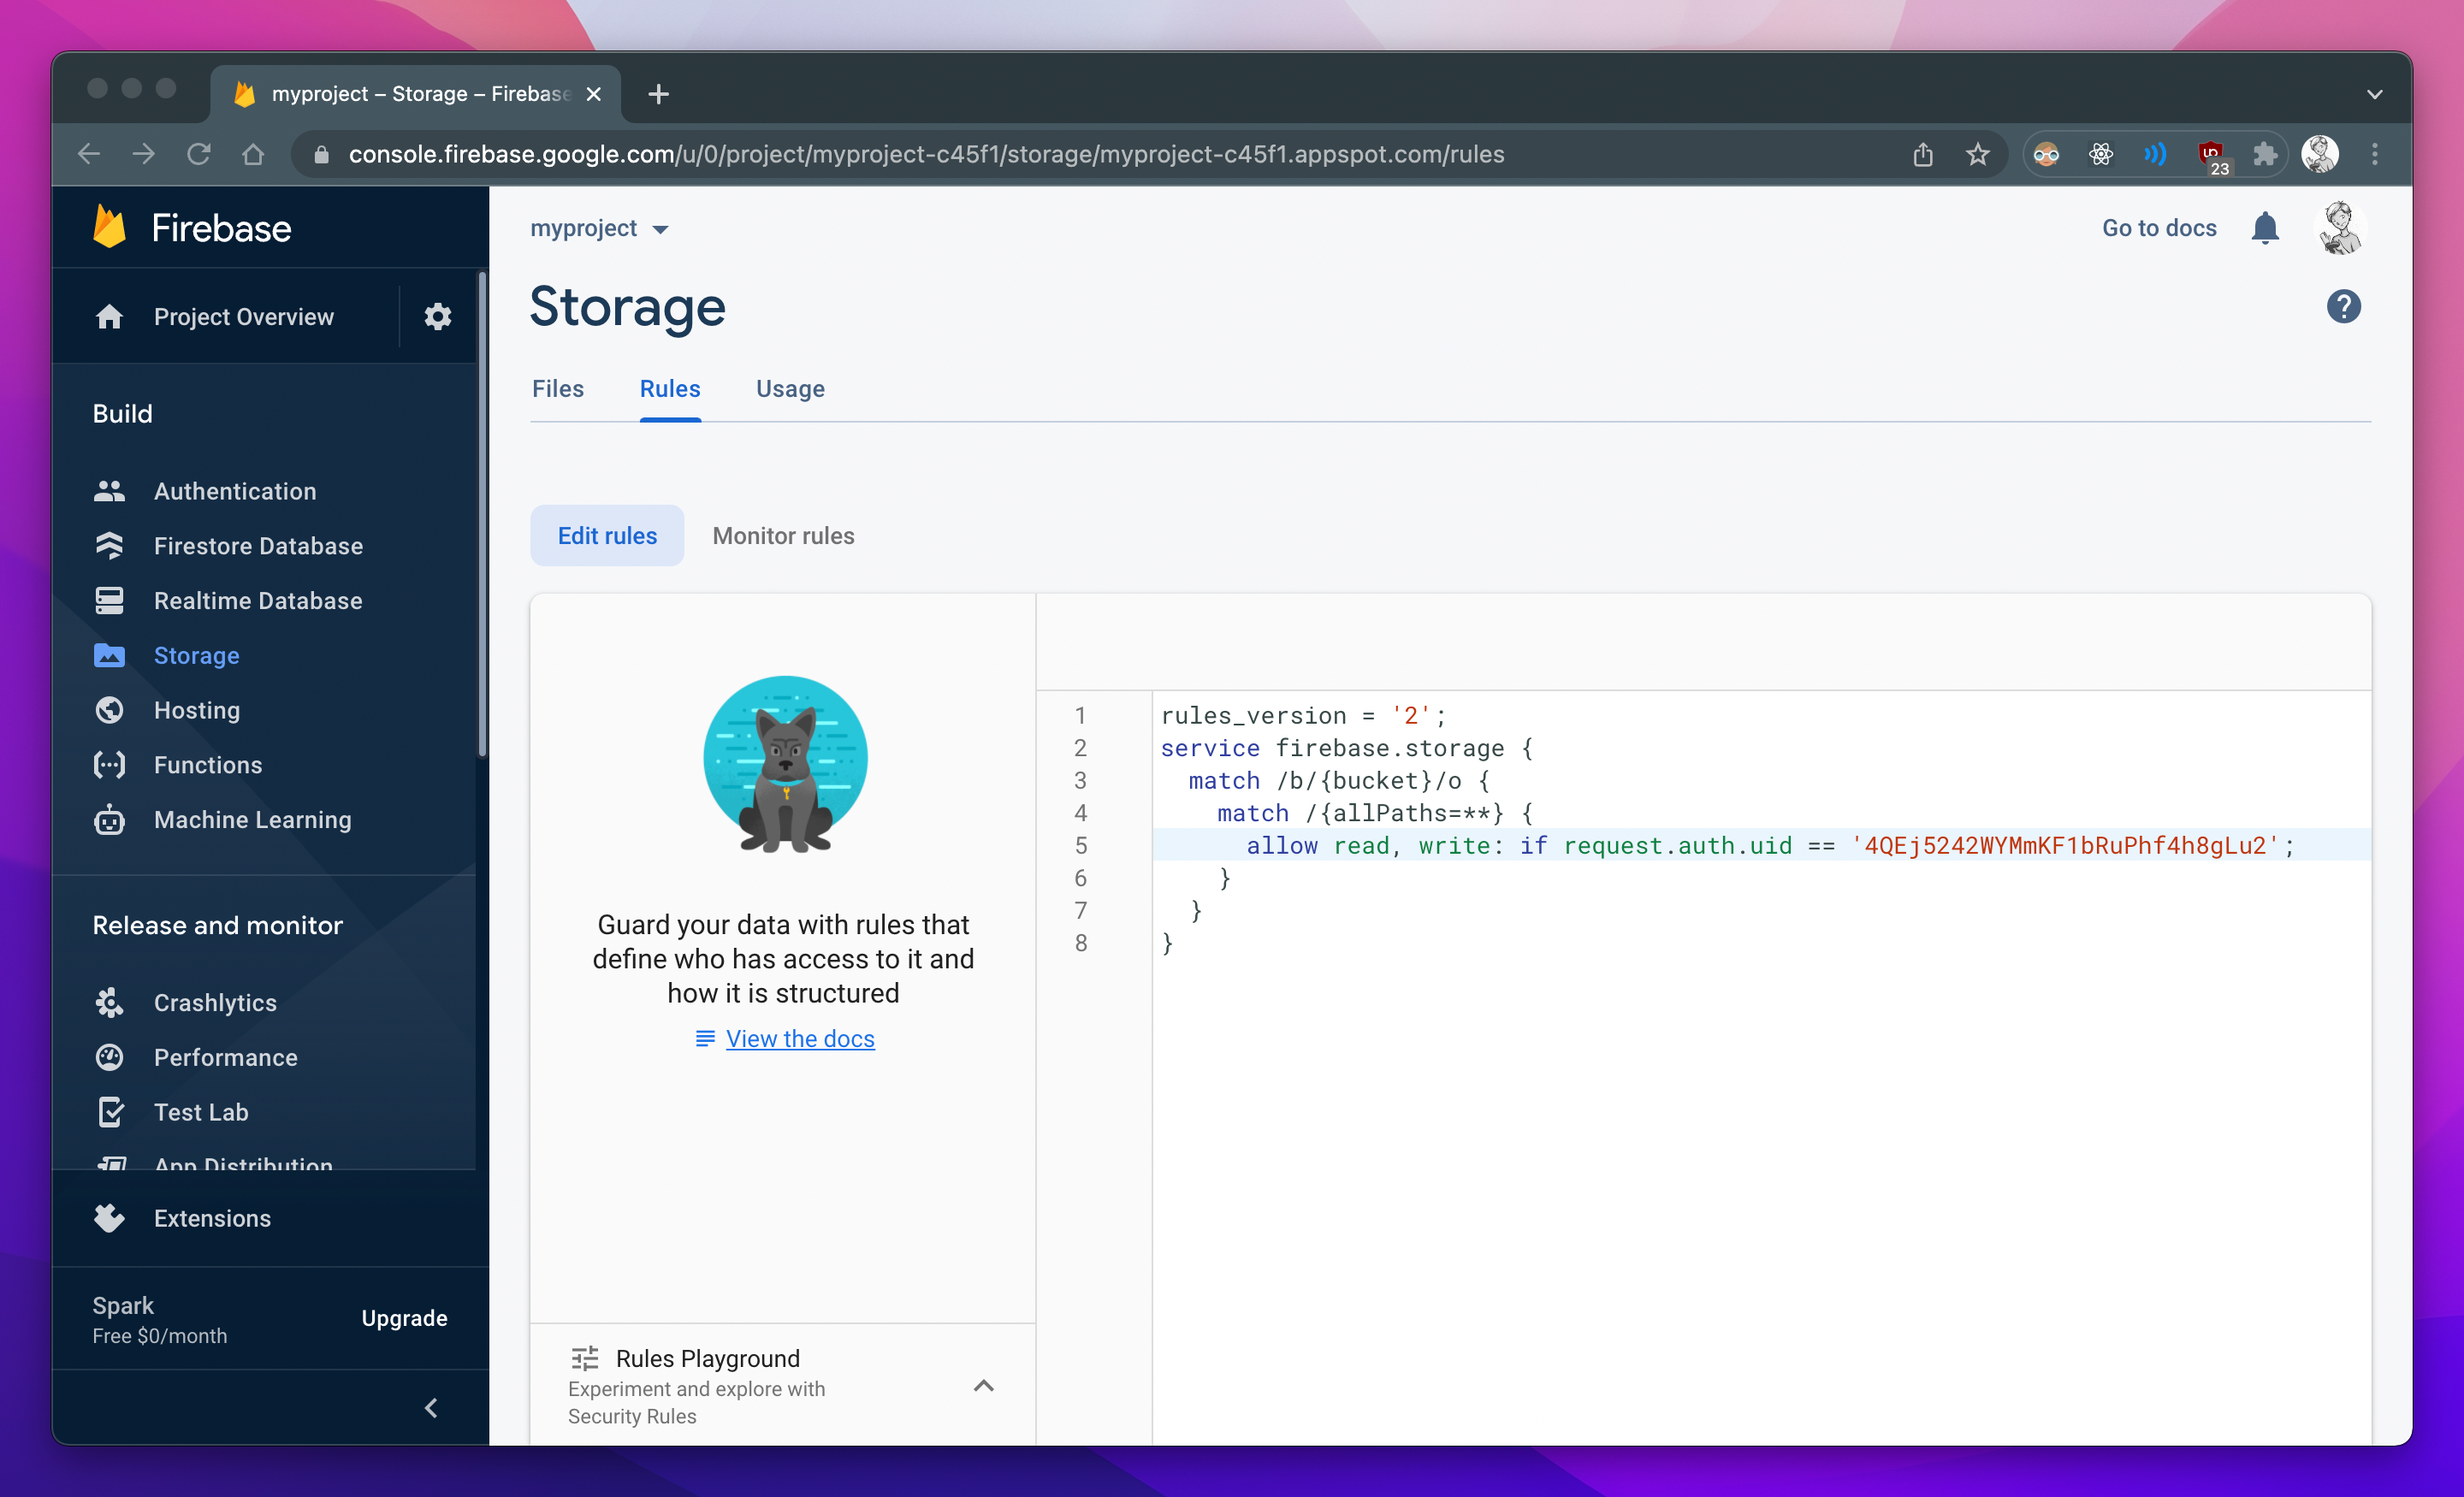
The latter one is more secure and prevents other users in your database from getting access to your storage.
NOTE: On line 5 in the above image, change the uid to the uid of the user which will be created by Firefiles. (Get the uid from the Authentication section of your Firebase project).
If you're still facing any issues, please feel free to reach out to us by emailing us or by creating an issue at our Github page